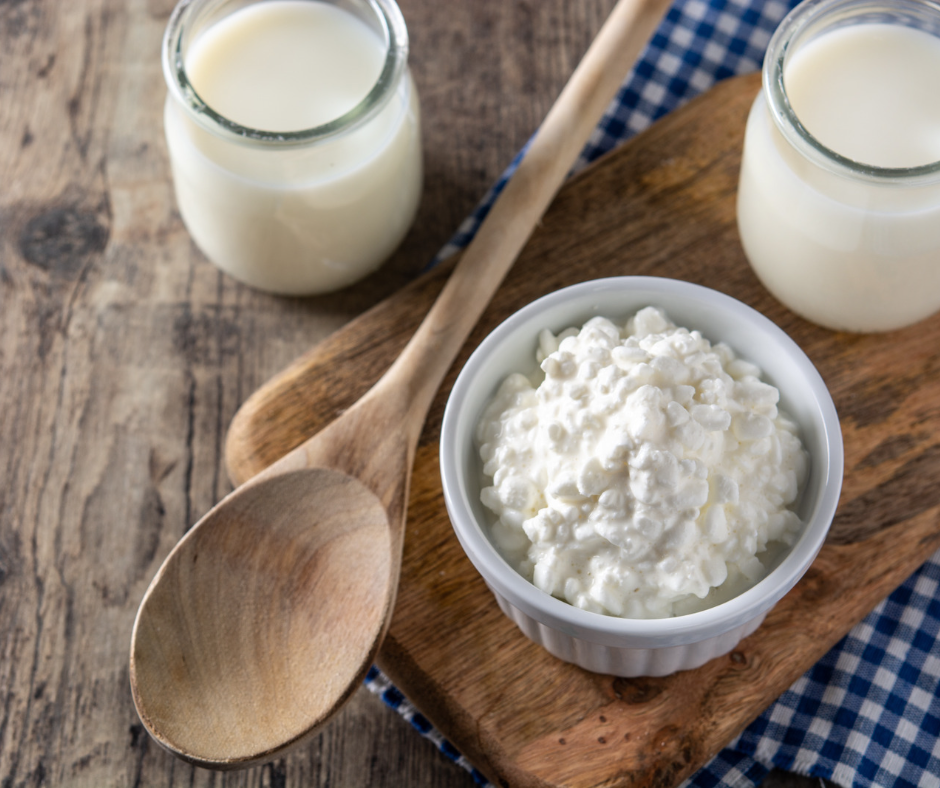
Milk kefir grains multiply with each batch of kefir made. In order to keep them all fed & fermenting delicious balanced kefir, you should routinely reduce their colony size. Otherwise you will start to ferment far more kefir than you can drink in a day. Reduce the colony by “putting grains on hold”, freezing, or simply eating them 1/2 teaspoon at a time. I’ll describe each option below.
Option 1: “Putting grains on hold” aka: Storing milk kefir grains in the fridge
This is a simple process:
-
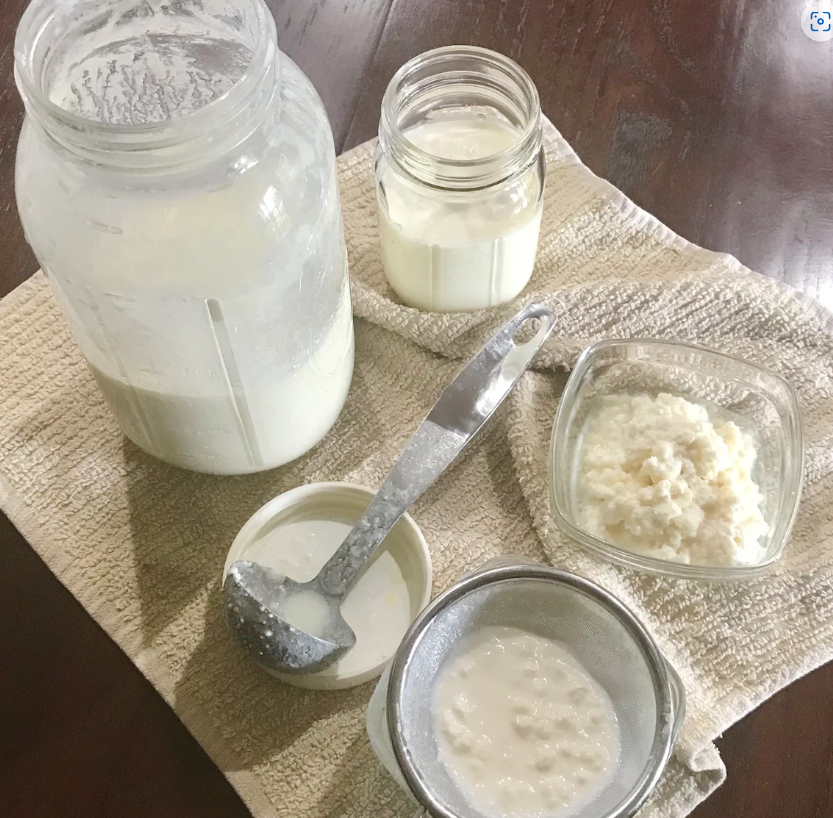
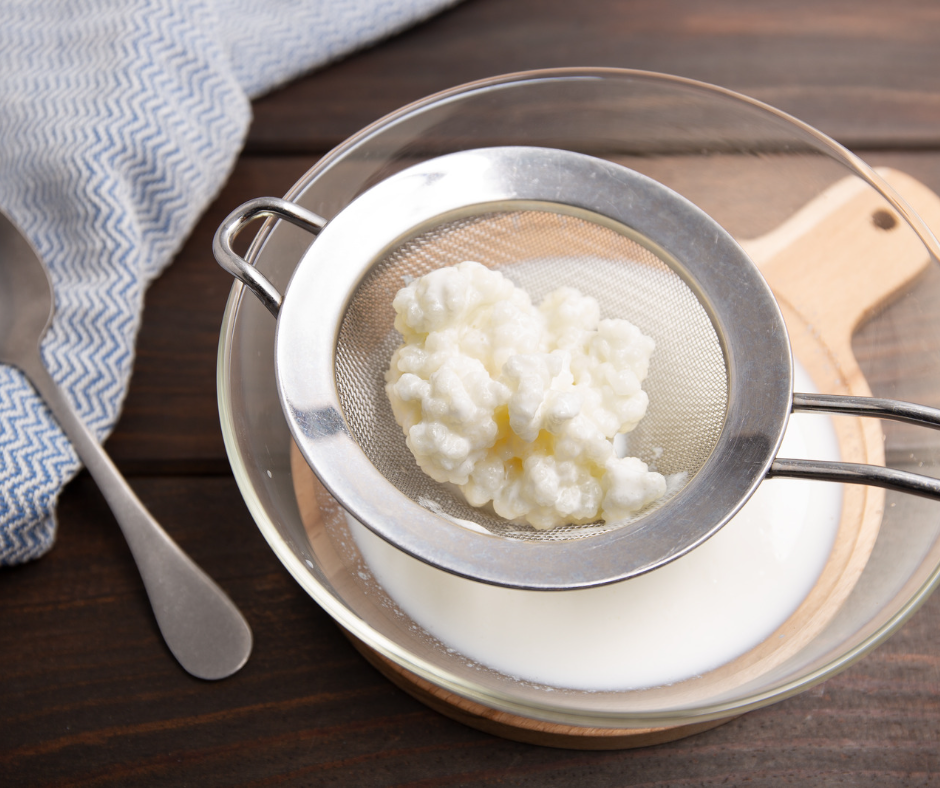
- Strain the Kefir Grains: First, strain the milk kefir grains from the finished kefir using a non-metallic, fine-mesh strainer.
-
- Prepare a Clean Container: Choose a clean glass or plastic container with a loose-fitting lid. Make sure the container is thoroughly cleaned and sanitized to prevent contamination.
-
- Add Fresh Milk: Place the strained kefir grains into the clean container and cover them with fresh milk. Raw milk is best, but low- temp pasteurized can work. Do not use ultra-pasteurized milk, it’s denatured so your grains will hardly multiply in or out of the fridge, plus it’s bad for your health.
-
- Seal the Container: Secure the lid loosely to prevent contaminates from entering the container. This helps maintain the freshness of the milk.
-
- Store in the Refrigerator: Place the sealed container in the refrigerator. The cold temperature will slow down the fermentation process for an extended period.
-
- Check Periodically: While the grains can last in the fridge for several days or even a few weeks, it’s a good idea to check on them every 3-5 days. If the milk starts to separate into curds and whey or develop an ”acetone” scent, it’s time to change the milk and refresh the grains.
-
- Refreshing the Grains: To refresh the grains, simply repeat the process by straining them from the milk and placing them in fresh milk in a clean container. You can then continue to store them in the refrigerator as before. NOTE: This can weaken the grains overtime, so it’s not to be repeated indefinitely.
Option 2: Freeze Milk Kefir Grains
(Can be stored for up to 2 months.)
STEPS:
1. Wash the grains with pre-boiled COOLED water. Pat-dry between clean towel(s) to remove excess moisture.
2. Add dry milk powder (“DMP”)- enough to completely cover them. Then seal jar or bag and freeze.
NOTE: DMP is mixed with the milk kefir-grains as a cryoprotectant agent to prevent freezer burn. Although I’ve found that kefir grains are viable for up to one year with this method, this length of time may completely remove the yeast component found in healthy kefir grains [if frozen for longer than 2 months]. Because of this, freezing kefir grains (per method explained above), is best for no longer than 2 months.
3. If DMP is omitted, then freeze time is reduced to 1 month. This is because the yeast of kefir grains may become damaged without DMP coating.
NOTE:
Do not add fresh milk or other water-based liquid with kefir grains when freezing- The water will rupture & destroy many of the organisms (“grains”). This is because water expands at 0 deg. C or freezing point.
Reactivating Frozen Kefir Grains
1. Thaw by placing the grains in a glass filled with cold water for a few minutes.
2. Place the grains into a strainer and wash off any powdered milk that’s adhered to the grains with cold water.
3. Add fresh milk to the grains with a ratio of 1 : 3 grains-to-milk by volume [say 1/2 cup of milk to 2 Tbs of grains]. Strain & refresh in new milk every 24 hours, whether or not the milk has coagulated, then place the grains back in the jar with more fresh milk. When full coagulation of milk occurs within 24 hours of fermentation, your kefir grains have reestablished themselves.
NOTE: The milk should have an aroma of fresh yeast. This could take up to one week or more.
4. After the grains are properly fermenting milk into kefir within 24 hours, increase the amount of milk per batch by 1/8 – 1/4 cup, to compensate for grain growth.
Option 3: Eat them!
Eat 1/4 – 1/2 teaspoon at a time, increasing per personal tolerance. These little rubbery goodies pack a punch with probiotics, so if you’ve been consuming their kefir long enough you should be able to eat them with little notice in digestion changes. But I always advise to start slowly and increase until they populate and improve your gut health for you take larger doses. They boast far greater health benefits than any capsulated powdered probiotics!
If you’re looking for in-depth guidance I have a guide here.
Or if you’re looking to buy more grains, I can help you out! Here’s my shop!
Happy Fermenting!